I admit it: I am one of those people who sometimes looks down their nose at things that are "trendy". "That's just the silly stuff that everyone likes. I'm so much cooler than that." And then I remember, oh yeah, I am not cool at all.
All of which is to say, I was very "meh" on the idea of Regency because I didn't want to be one of those "bandwagon" people. Bridgerton fever has swept the costuming community recently. That's a version of Regency, and I definitely wasn't interested in a "version of Regency". Of course, Jane Austen is massively popular, too, though I'm more of a Bronte fan myself. Also, aesthetically, it just isn't my favorite style.
But there were a number of benefits to putting together a Regency look. The proportion of costuming events that are Regency is quite high, and I wanted to be able to attend. Moving around in Regency is also easier than in many other styles: there are no hoops or piles of petticoats, no crazy hair or enormous sleeves. That makes it ideal for events like going to the art gallery (*foreshadowing alert*) where a hoop skirt might be less than ideal.
So began my journey into Regency which culminated in the outfit below. I started the whole journey back in the summer and only just finished (it's now January), but I was working on other projects, as well, so it isn't as though this is all I was working on.

Layers of the ensemble:
Cheap white stockings from my stash, white boots I bought second-hand years ago, white cotton chemise with a drawstring neckline, 1830s stays with fan-lacing, white cotton bodiced petticoat with a buttoned closure in the front and a pleated skirt, white cotton chemisette with two rows of ruffles at the neckline and ties at the waist and neck, drop-front dress made of pink-Swiss-dot white dobby cotton, red sleeveless spencer of red silk closing in the front with hooks and eyes, silk reticule, black wool scarf/shawl.
The pattern for this dress took quite a journey. I started out with the Black Snail Regency Dress pattern. I made a wearable mockup out of old bedsheets (that I dyed with tea to make the fabric less YELLOW). After much fussing and many alterations and essentially drafting the sleeves from scratch, I ended up with this:

So I set about changing the gathered bodice into a . . . well, non-gathered bodice. This mostly entailed making a mockup of the gathered bodice and fiddling with the front until it was, well, non-gathered and had darts instead. So. Much. Fiddling. Eventually, I came up with something I liked. This became the basis for the various pieces I made: the chemise, the bodiced petticoat, the dress itself, and the spencer.
Chemise
White cotton with twill tape ties

For the chemise, I took my new darted front bodice pattern, divided it into several pieces (four, I think) and spread them apart by several inches (two extra inches between each piece). The back bodice was in two pieces (a side back and back-back), so I just put those together and pretended they were one piece (for a one-piece back), then did the same as above. I did all of this directly onto the fabric, so when I say I "divided" the pattern, I mean I just did it by tracing on part of the pattern piece, then moving it over and tracing the next portion. You could, of course, create a copy of the pattern, cut it into pieces, and spread the pieces apart. The point of this whole exercise is to add width that will be gathered down to the right shape at the neckline. By doing all this, I now had what I wanted for the top of my chemise. For the rest of it (from the bust down), I extended a line straight down from the edges of the front and back bodice pieces for as long as I needed the chemise to be. I then added long triangular gussets into the long side seams to give the skirt hem more volume and make it hang better. At the neckline, I created a channel for a narrow twill tape to tie the chemise closed (I can make the neckline wider and completely off the shoulder if I so desire, or draw it in to be narrower). I added sleeves using the sleeve pattern from my wearable mock-up.
The stays
Cotton canvas and a cotton lining with fan-laced twill tape lacing
.jpg)
I wear my 1830s stays for Regency currently. They do the job, which in this case is to get the bust line way up there. The higher, the better. I really love these stays, and they've already gotten a lot of use, so I may need to use that pattern as a basis for a pair of Regency short stays, or I may need to just make myself another set of the same stays.
Bodiced petticoat
White cotton muslin
.jpg)
.jpg)
.jpg)
Bodiced petticoats were worn in the Regency era under the Empire waistline to give the skirts some body. Some petticoats were skirts with straps over the shoulder, and some, like the one I made, had a sleeveless bodice. Something had to keep the petticoat up: to create the right silhouette, they had to sit right under the bustline, which is where the fashionable waistline sat. But, alas, gravity will want to force petticoats to fall down to the narrowest part of the body, meaning the waist. You need either straps or a bodice to keep it just below the bust. Here again, I started with my darted bodice pattern. I cut it very low in the front so that it wouldn't show under my dress. As it turned out, I cut the front a little lower than I wanted, so instead of facing the neckline, I bound it so that I didn't loose any of the height. The back, somewhat ironically, was cut too high, and I later had to cut it down and rebind the neck edge (it was showing above the back neckline of my dress). Unlike with the chemise, the skirt was cut separately. The skirt is made of a rectangle of fabric that's two yards wide and as long as I needed for my skirt (which hits between the knee and the ankle). It's flat across the center front and then is pleated starting at the side front and moving around to the center back. I added three tucks (I believe they're 1/4" each). It closes with three white buttons.
Chemisette
White cotton batiste with twill-tape ties.
.jpg)
.jpg)
Regency dresses were frequently cut quite low at the neckline, so for daywear, women often wore chemisettes or fichus to fill in the neckline. This was for warmth and modesty. I decided as I was making the dress that I wanted a chemisette, and I settled on a double ruffle at a high neckline (there are a lot of styles of chemisette to choose from). These are fairly simple garments: they usually don't have sleeves or side seams and simply tie at the waist. I started with my 1830s pelerine as a pattern. I had to adjust the shoulder seam a bit and take a lot off the length of the shoulder line, but it was a fairly simple process. I added a channel at the bottom for the twill tapes, which passed all the way around the body and ties in front. I took two long strips of my fabric (2" wide and 1.5 times the length of of the area I wanted to gather them down to, i.e., the neckline) and made two ruffles for the neck. I did careful little rolled hems, then sewed them to the neckline. Some more twill tape acts as ties to close it there.
The best part about this chemisette is that it can be used under dresses up to and through the1830s, so I should get some great mileage out of it.
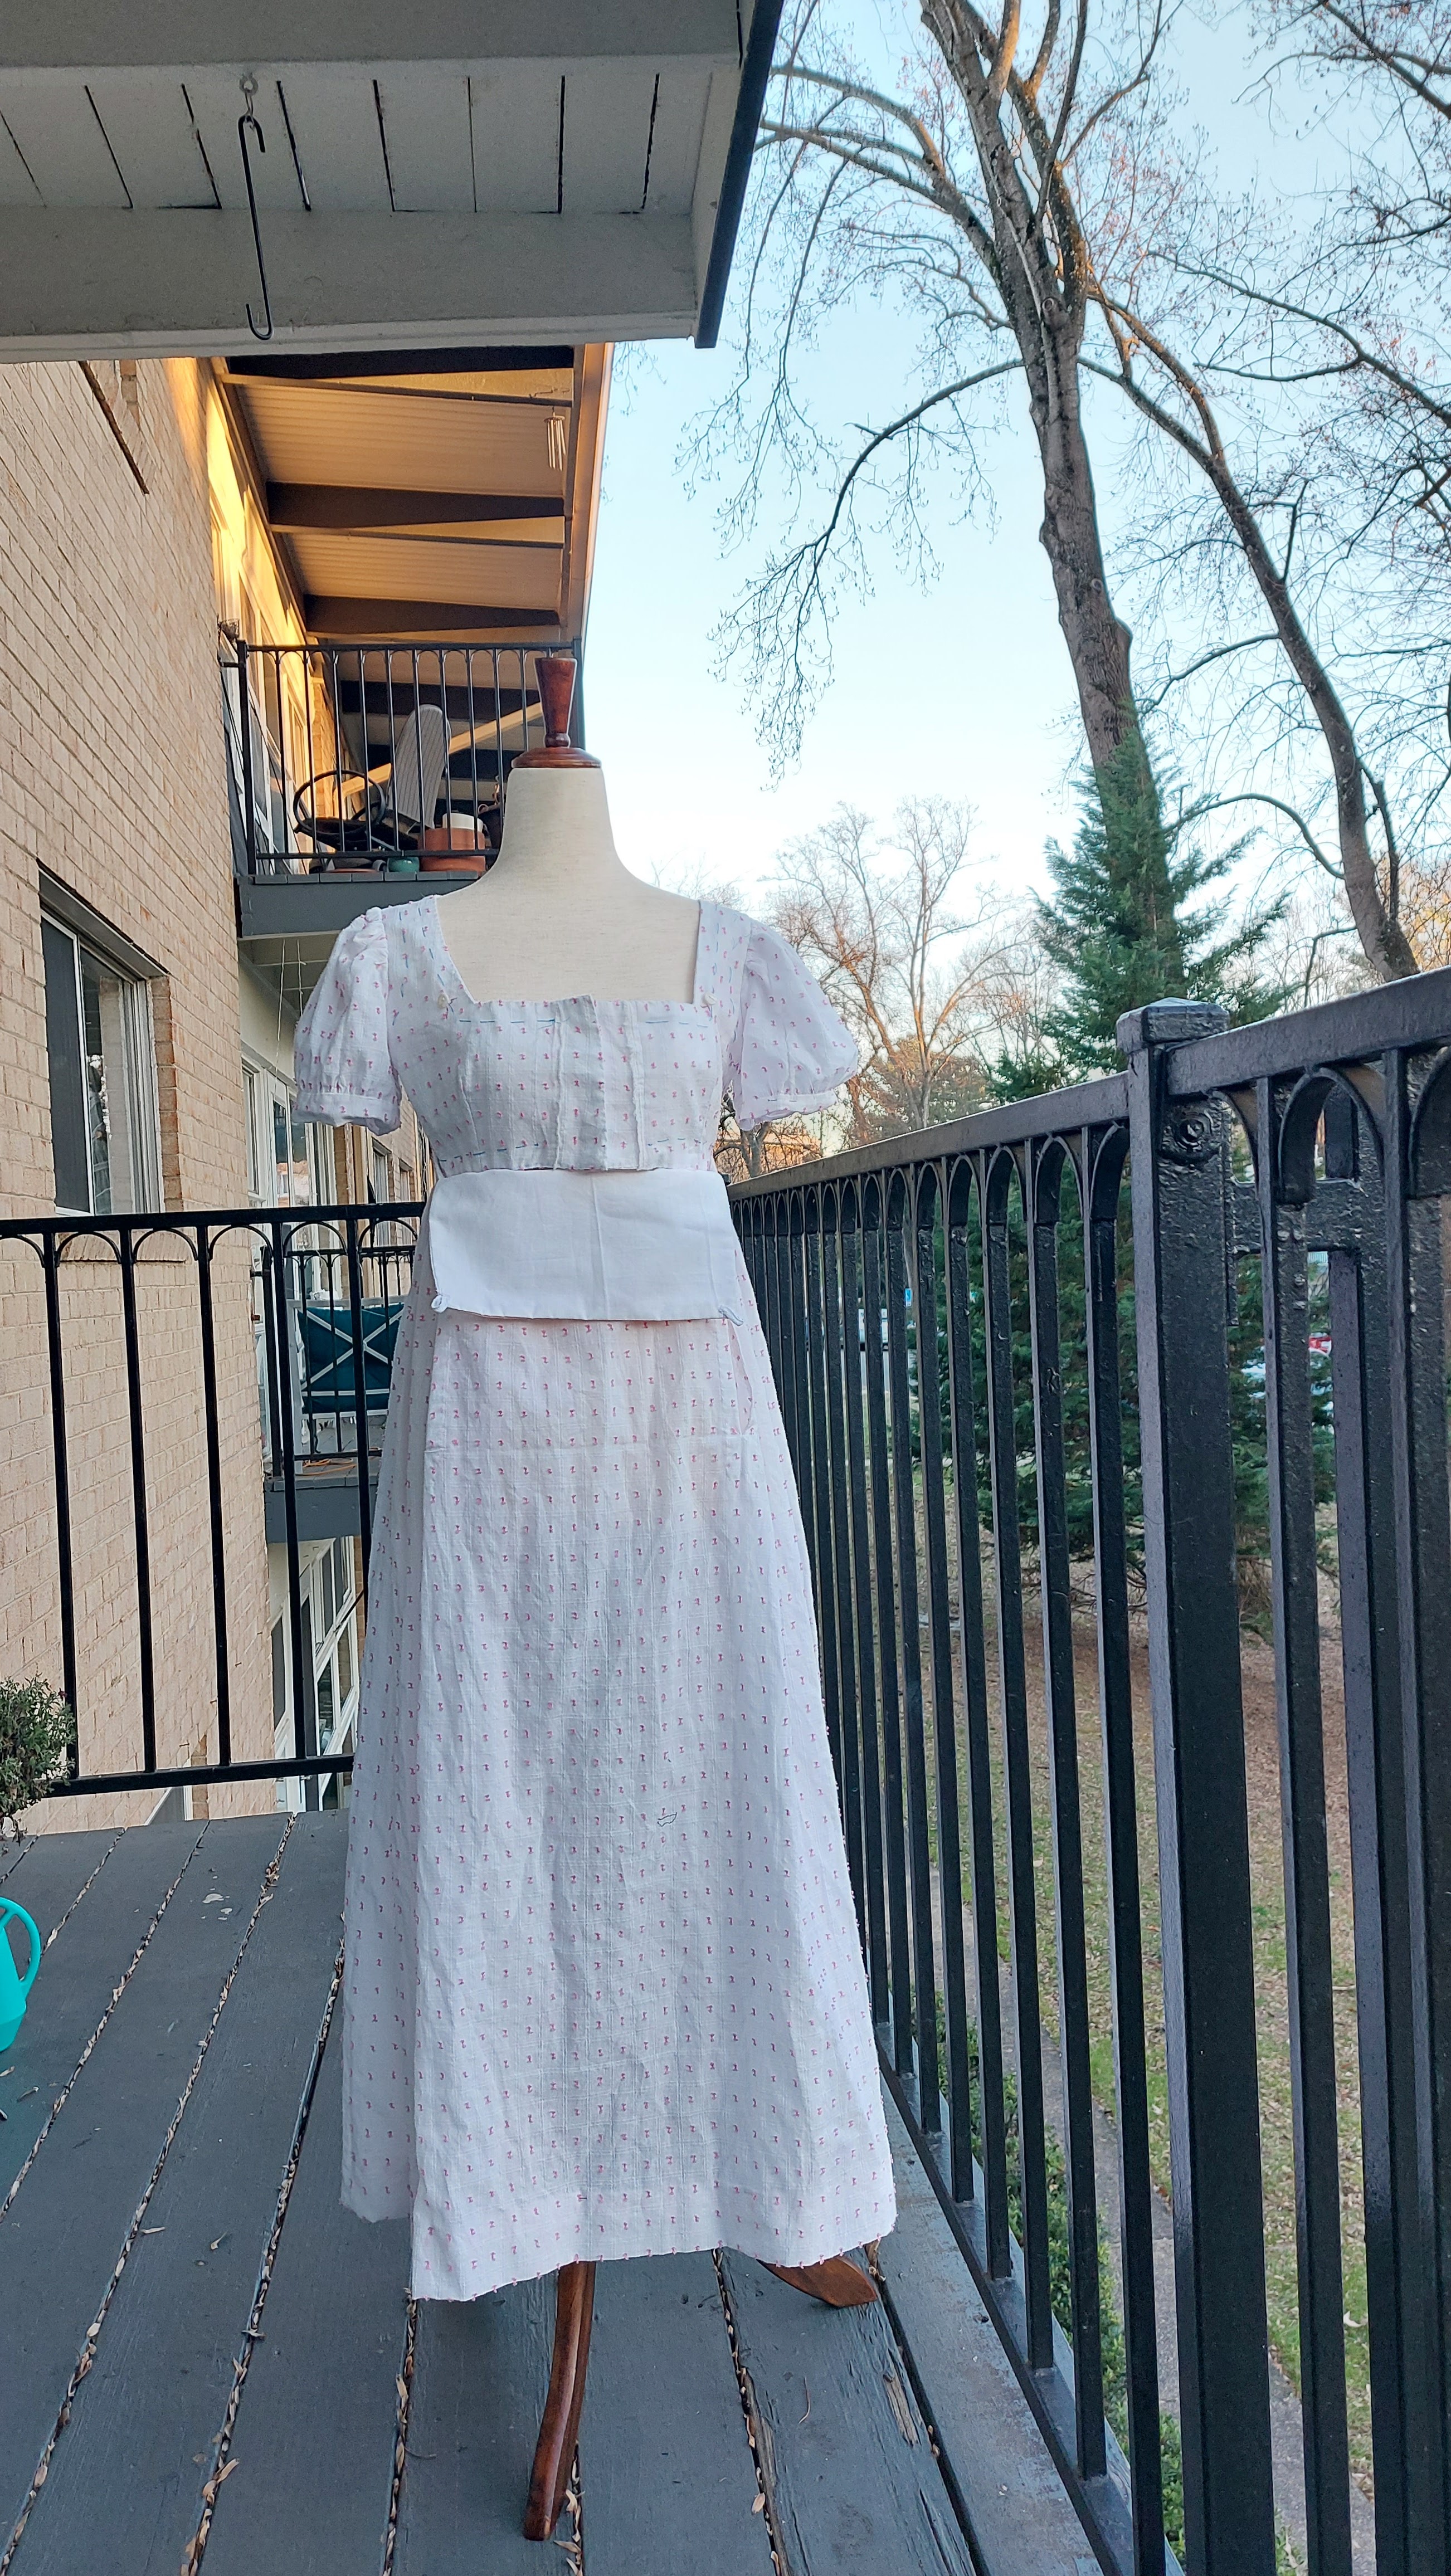
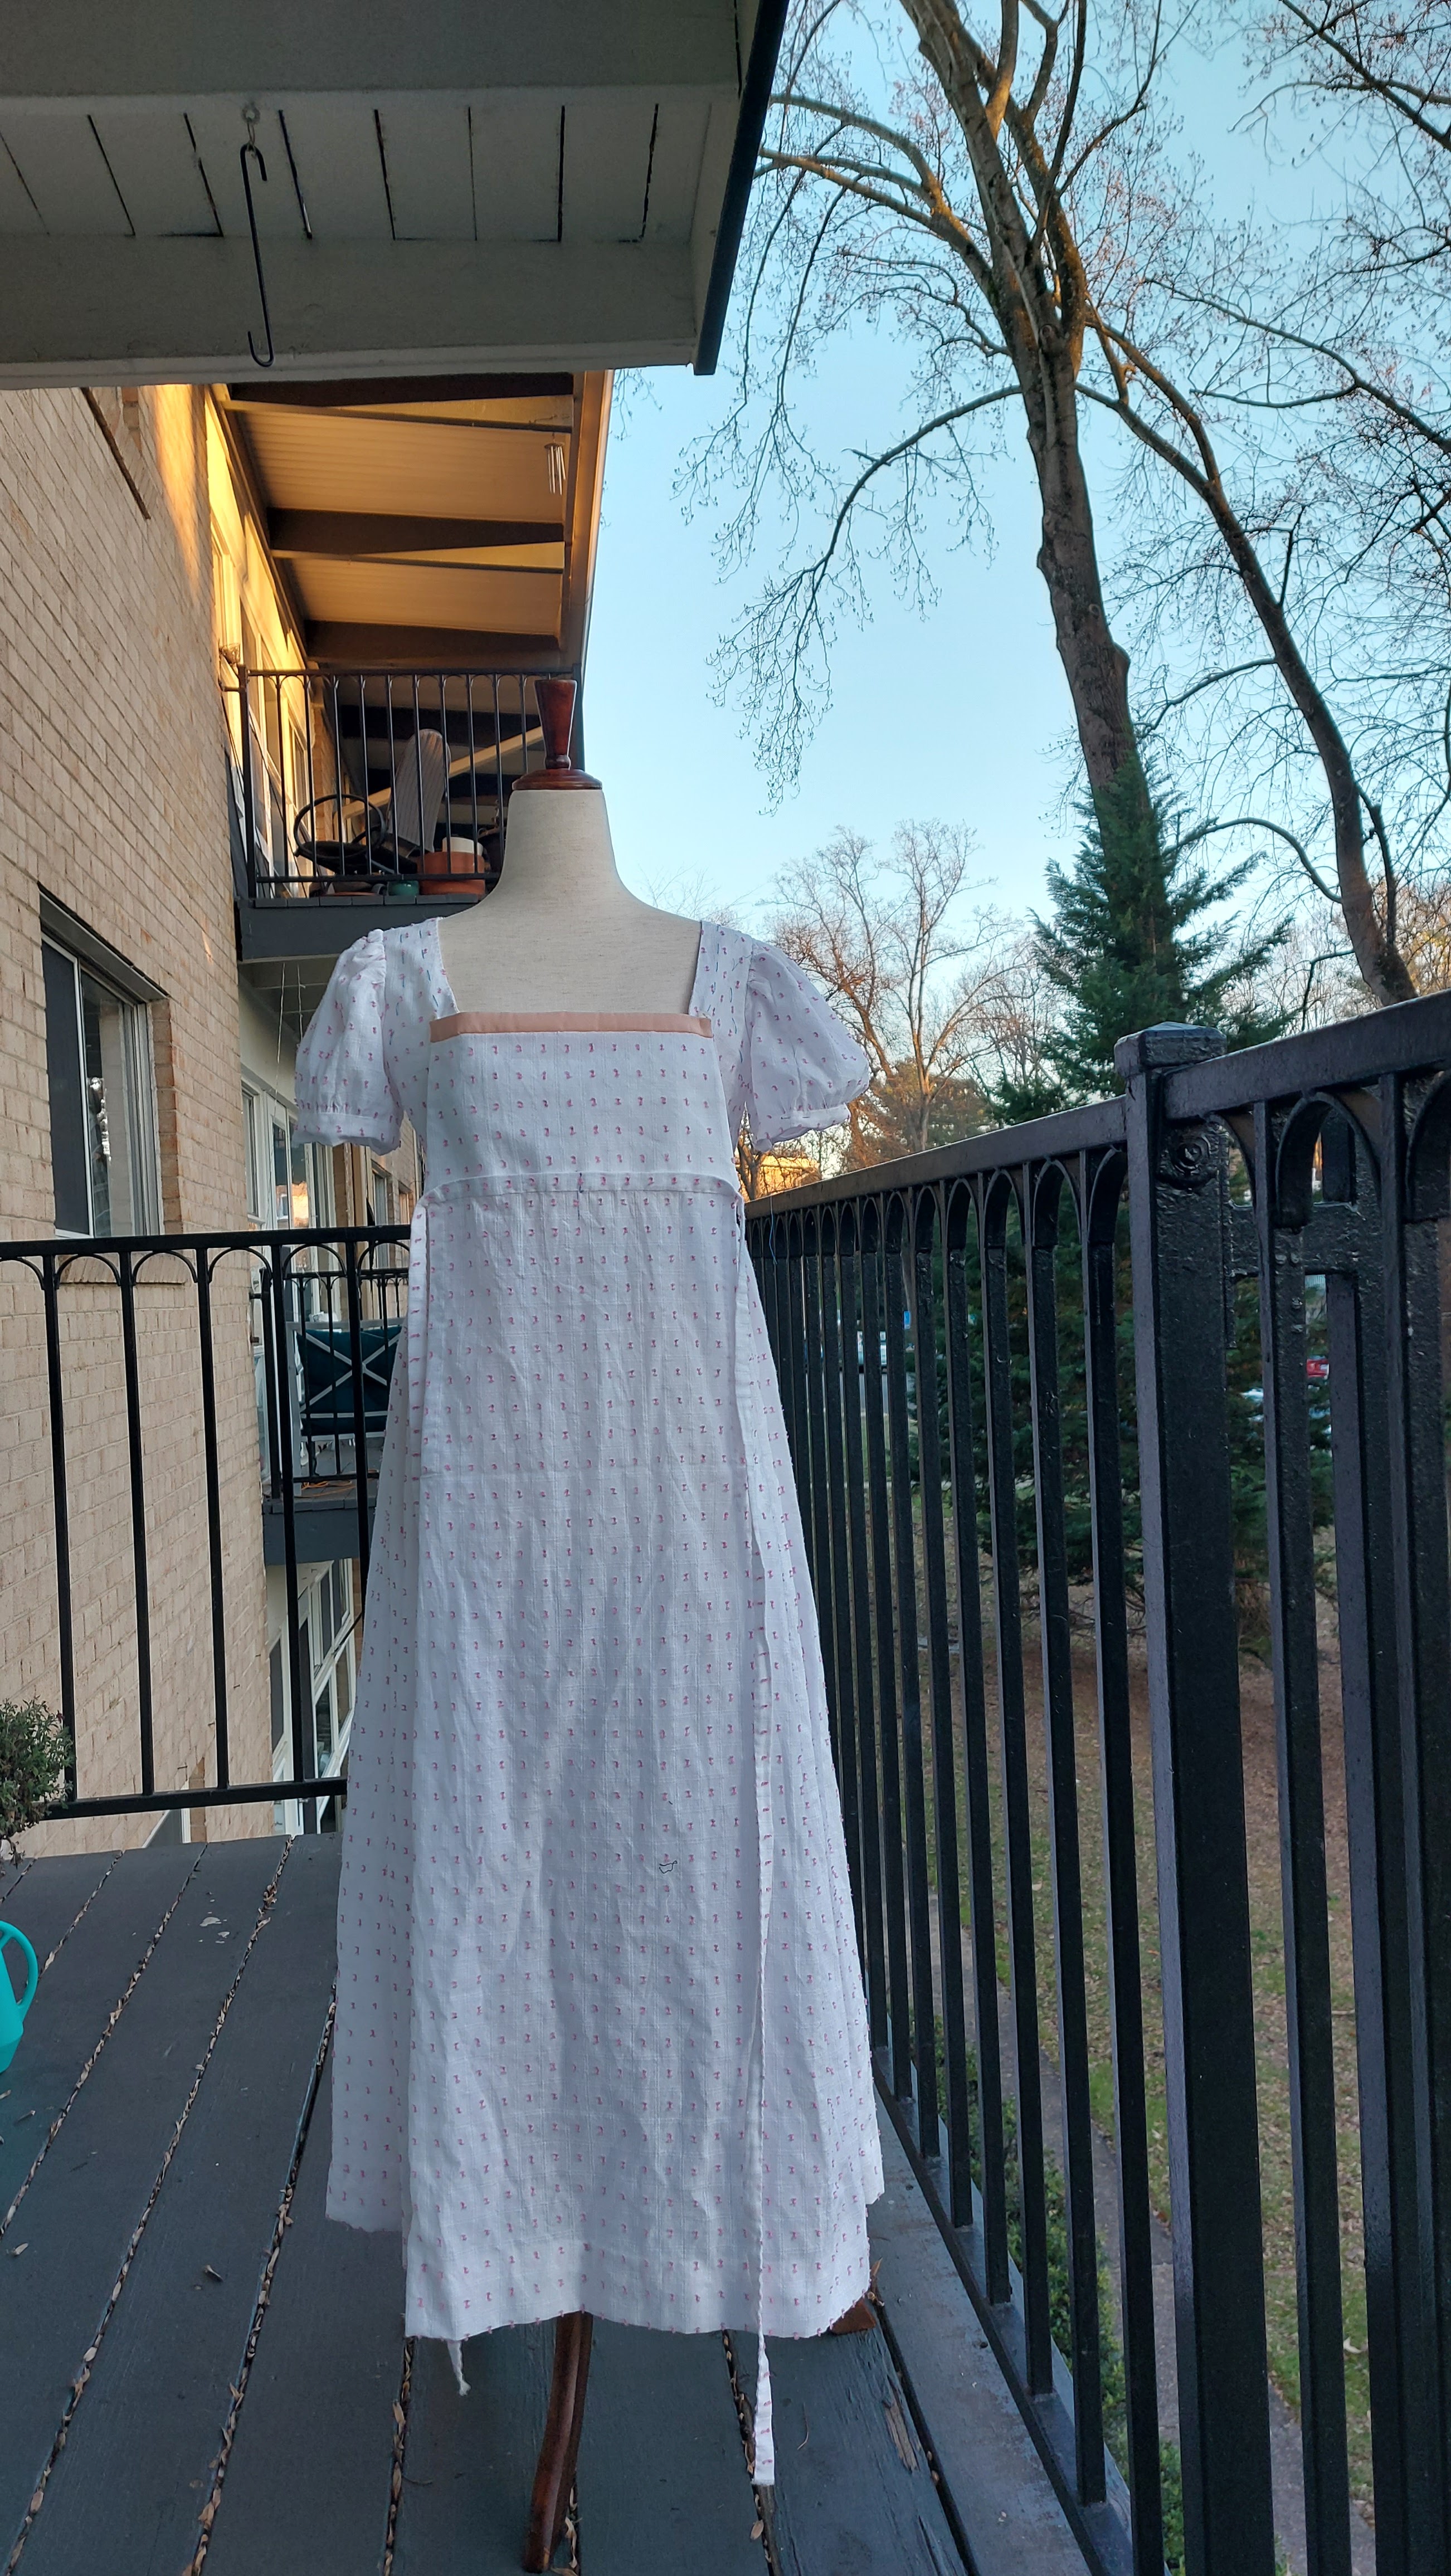
The drop-front white Regency dress
White pink-Swiss-dot dobby cotton
.jpg)
.jpg)
The main event is the dress. This took forever, because I put it aside for weeks at a time, then came back it. I also had to go back and redo some things that I wasn't satisfied with.
Again, I started with the darted bodice pattern. After some research, I had settled on a front-closing, dropped-front or bib-front bodice. This is a somewhat complicated system of closing a dress, but it goes like this: the dress goes on over the head, and you put your arms through the sleeves, then close the front lining. You then pull up the bib front (which is a whole front panel of the skirt and bodice) and tie it at the waist. The bodice part of the bib front is then pulled up to its proper place across the front of the bust, where it covers the lining. It's secured in place by pins or buttons. Here are some pictures to illustrate:


I used my darted bodice pattern for the base of the dress--simple enough. I used hooks and eyes for my front closure. I found I had to raise the waistline a few times to get it where I really wanted it, and I struggled a little with how to construct the front closure, but I figured it out (I ended up adding a layer of fashion fabric; originally it was just one layer, the lining).
I moved on to the skirt without worrying (yet) about the bib. For now, all I needed to figure out was how wide I wanted the bib front to be at the waist. So I looked at myself in the mirror and said, "I want it to be this wide". That was roughly the distance from the base of one dart to the other. I needed to figure this out because this style requires the skirt to have a panel at the center front that corresponds to the bib that covers the bodice. I put together my skirt (just a two-yard-wide rectangular panel cut to the length I needed for my skirt), then cut deep vertical slits (about 11" long) into the center front panel. I bound these to finish them. I now had a big rectangular flap on the front of my big rectangular skirt.
Like the petticoat, this skirt was flat across the front (the flap I cut!). I wanted to gather this skirt, however, rather than pleat it. The exception was one deep pleat at the front: I arranged this pleat so that the right side of the fabric would be visible underneath the slit. That way, if the slit ever gaped open just a little, it would show the fashion fabric. I attached the gathered skirt (except for the flap!) to the bodice.
I created a very long tie out of my fashion fabric by folding over long strips and then whip stitching the edges together. I attached this to the top of my skirt flap, which could now be tied into place. But I found that when I tied it, it wanted to be lower at the back than the high waistline, which completely ruined the silhouette. I made loops to pass the ties through, and that solved the problem. Now, the ties are at the waistline as they should be rather than trying to slip down to the narrowest part of me.
To pattern the short puff sleeves, I started again with the wearable mock-up pattern. I used just the top of the sleeve pattern, and like I'd done with the chemise pattern, I divided it into pieces and added several inches to the width and a bit to the top and bottom. I did test out this sleeve pattern and thought it was okay, but after making it out of the fashion fabric and adding a 1" armband, I wasn't pleased. It was too puffy. I know it's meant to be a puff sleeve, but it felt very 1980s prom. It just didn't work. I fiddled around with it by taking several big tucks out of the width and taking a bit out of the sleeve head. Then I realized the armband was way too wide. I decided it was time to just start over, so I made new sleeves using what I had learned. And they weren't puffy enough! So I ended up making a third set of sleeves that somehow still aren't quite puffy enough but get the job done. I also ended up with a .5" arm band. The proportions were much better, and it was a reminder to me how much proportions matter.
The last piece of the puzzle was the bib front itself. I'd mocked up a trapozoid that I thought would work, but, yet again, I realized I was off. I ended up making it shorter and narrower by quite a lot. That seems to be a general theme for me: when in doubt, make it smaller. What can I say? I'm a petite person.
To hold this bib front up, I added buttons to the bodice and little loops of twill tape to the corners of the bib front.
I had seen a dress where the bib front was bound in contrasting fabric, and the armbands were the same contrasting fabric. I had some pink silk, so I bound the top of the bib front with that and made little bands for the sleeves. But the silk was too heavy for the job, and I found I didn't want the contrast after all, so I took all that off in the end.
As I mentioned, I wanted this dress to be versatile, so I decided to make detachable long sleeves. I went back to my mockup pattern and cut out the bottom 3/4 or so of the sleeve and determined where it met up with the bottom of the puff sleeve. Luckily this was a style: puff sleeves with a fitted lower sleeve, separated by an armband. I finished off the top of the sleeve, so all I have to is either pin or baste the sleeves in place and, voila, I have long sleeves instead of short sleeves!
And that was the dress complete.
The sleeveless spencer
Red shantung silk, cotton lining
.jpg)
.jpg)
But it was not the last piece of the ensemble! Like I said, I wanted versatility for this outfit. To dress it up, I decided to make a little sleeveless spencer (a spencer is just a Regency jacket, essentially). My original plan was to make it out of the pink silk I'd used to accent the dress. I fairly quickly realized that the fabric was, again, too thick for the purpose. I puzzled over it a bit, then had a brain-wave. Last year at almost exactly this time, I took apart a quilted winter hood I had made. That hood was a failure, unfortunately (I just didn't like it). But I'd used nearly a yard of nice silk on both sides of it, as well as cotton batting, and I decided it was worthwhile to take it apart. This meant a LOT of seam-ripping, because I'd sewn all those quilted squares across all of the fabric. I wasn't sure at that point what I would do with that fabric, but I put it away to be used later. I used most of the black to cover a parasol in the middle of last year, and this year I used the red for this spencer. It was just barely enough fabric, and I did have to do a little bit of piecing, but boy was it the right decision! The red silk is very pretty on its own, but the scarring from the quilting stitches left an interesting, subtle pattern.
As far as the pattern, I used the same exact pattern I used for the bodiced petticoat. I had to adjust the back because for some reason it was way off, but I figured it out. Again, I ended up having to bind the edges because it was cut a little too low. I added some trim from my stash and some hooks and eyes at the front, and I called it a day (metaphorically--this little project took a week or two to complete). At some point, I want to make an open gown with a train for this dress, which will make it even fancier and suitable for a ball (with the long sleeves removed) and maybe a spencer with sleeves.
On the day of the event--an outing to the National Gallery of Art in D.C. with fellow costumers--I wore some ivory boots I've had for a few years now and some cheap-o stockings I got somewhere-or-other, and I dug out the silk reticule I made about two years ago. It was also very cold that day, so I grabbed my favorite black wool scarf and draped it over my shoulders as a shawl.

I'm very proud of this entire ensemble. It's kind of adorable (if I do say so myself) and is the look I was going for. It's very Regency, maybe around 1810, but I think it has some elements of the 1790s. I'm not too fussed about it not exactly tracking to a specific year. I was incredibly chuffed that all my work had paid off, and that I even did a good job on my hair. And thanks to my fellow costumers who took pictures at the event!
No comments:
Post a Comment