When creating my historical costumes, I don't always have a specific place or event in mind. I don't really sew for an event--I sew what strikes my fancy at a particular time, and then I wear it to any event it might be appropriate for.
When, however, a local costuming group organized a get-together at the National Portrait Gallery/American Art Museum here in DC, I had a particular vision in mind: a Civil War-era ballgown. Why? Because the building housing the NPG is a grand old building that in 1865 hosted the second inaugural ball for Abraham Lincoln. I'd been meaning to, at some point, make a ball gown bodice to match my black silk chiffon skirt (for which I'd made an 1850s sheer bodice and an 1860s day bodice).
This should have been relatively easy. Right? I've made a number of Victorian bodices at this point. I really, truly, sincerely thought I had a well-fitted Victorian bodice. Well, the joke was on me, because after merrily cutting out a lining in black cotton, I found to my frustration that it didn't actually fit perfectly at all.
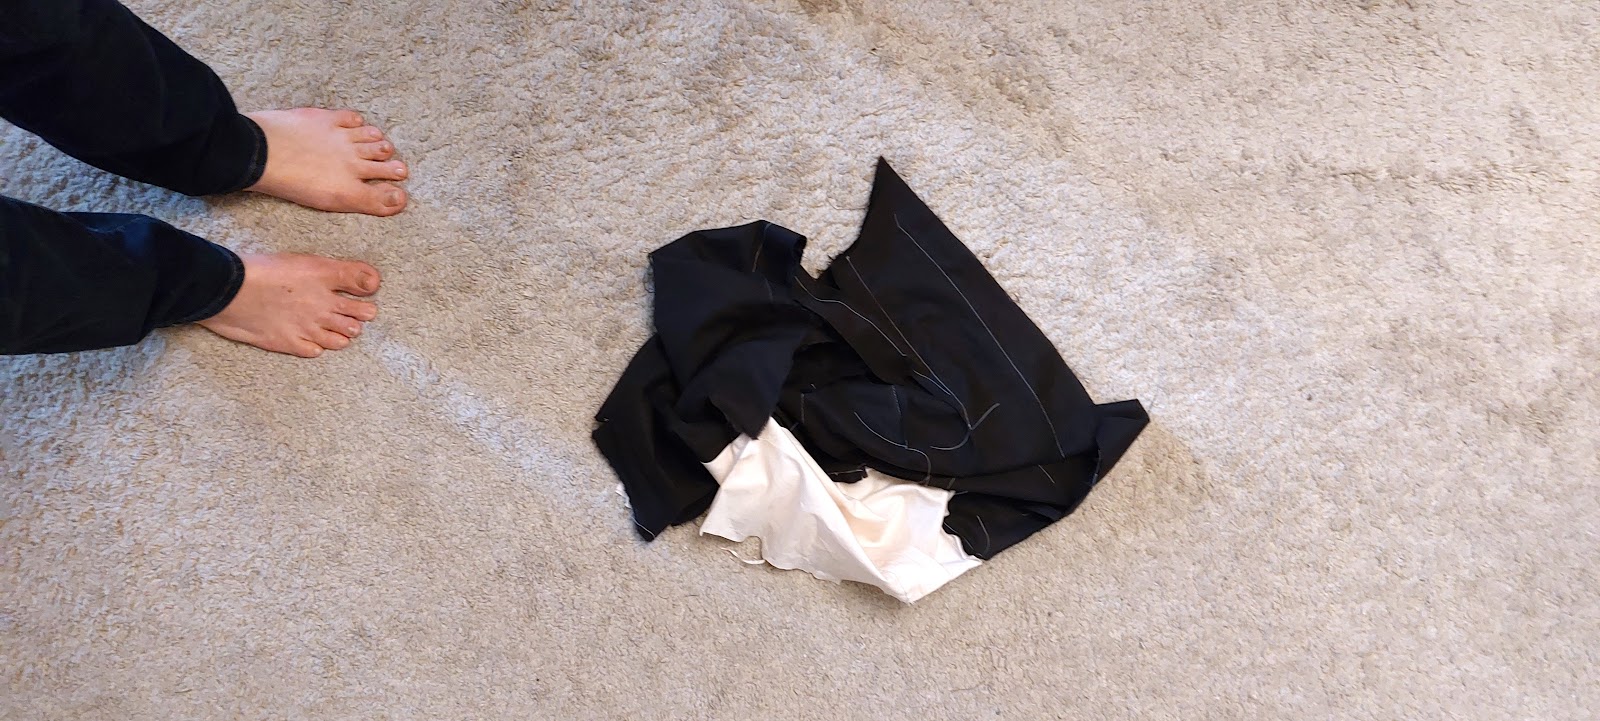
Do I have pictures of the many fittings and the days and days of frustration? No, no I do not, because I was too intent on getting it right and too irritated that it was still wrong. In a fit of rage, I threw the damn thing onto the floor in a heap and took a picture to document my ire:
But then I remembered one of the fundamentals of fitting that for some reason had escaped me in my single-minded zeal to fit this damned bodice. If you have wrinkles in a particular spot, pin out the excess and remove it. I did that, and, like magic . . . it fit. As it turned out, the center front was significantly too long. and in fact the entire bodice was a little long all around. So I ended up slicing the bodice pattern piece horizontally and overlapping it:

You'll see that I also changed the angle of the shoulder a bit by sloping it down at the end. Again, this is something I probably should have twigged to much earlier. When in doubt, the answer for me is usually to make things smaller. I'm very petite. I'm (sometimes painfully) aware of this. And yet my brain doesn't always make the connection.
In any case, I finally had something I was happy with. The next step was to cut away most of the neckline that I'd just been adjusting to make it a ballgown bodice rather than a day bodice. I added a point at the center front as well, because most ball bodice had a point at the front. I did this by eye, and I have to say I was pretty pleased with the result. Once that was all figured out, I cut out the pieces from the chiffon overlay (long story, but the bodice is made of a layer of black cotton and a layer of silk chiffon to match the skirt; this type of bodice would have been silk taffeta in the time period, but it reads as silk anyway, and again, I wanted it to match). I flatlined the layers together that could be flatlined, did up the darts at the front, and stitched the back pieces to the side-back pieces. Below you'll see there are four back+side-back pieces here. Because I decided to go with back lacing as a closure, I decided to have the outer layer wrap around the innermost layer at the center back edges as a facing. This gave me enough layers for stability for the lacing, but also cut down a bit on bulk (doing it this way, I ended up with six layers of fabric rather than eight). It worked quite well.
After some assembly, including putting boning channels and bones at the center back to support the lacing and putting in grommets, this is where the bodice was:
I was really pleased with the fit, and it laced shut perfectly at the back, so I went ahead and bound the neckline and the hemline. At first, I bound the neckline with the beautiful ivory silk I planned to use for an applied bertha, but I didn't like that and bound it instead with black silk (some black satin from my stash). The bottom was bound with the same, but I added piping. With that done, I added an applied bertha. This was composed of bias-cut strips of ivory silk. It had to be on the bias to follow the curves of the bodice smoothly. The process of pinning and sewing this all in place was more fiddly than I expected, but after a lot of, well, fiddling, I got the bertha applied:
Next was sleeves. These went fairly smoothly, after a little bit of pinching and pinning. Excuse my derpiness below, but I cut out one sleeve in black and one in white to make a decision. My general color scheme for the bodice was black-and-white. I wasn't sure whether I wanted the sleeves to contrast or not. After some consultation with friends on Facebook and Instagram, I went with black, which was what I was leaning towards anyway. I also realized I needed to adjust the shoulder seam a bit, to fix some of the wrinkling radiating up from the armscye.
With these sleeves, the result was, somewhat to my surprise, a really charming, simple 1840s ballgown. I was delighted, actually, and had real thoughts of just, you know, leaving it there. Then I remembered that the idea was to make an 1860s ballgown to fit the setting of the 1865 Inaugural Ball. This required big puff sleeves. My intention all along had been to use the chiffon to make billowy sleeve puffs, but an attempt at that failed. The chiffon was simply too limp to make viable puffs.
After considerable thought, particularly while I was lying in bed half-asleep, I realized I had some wide black lace that I could add to the sleeves in big ruffles to mimic the shape of a puff sleeve. And around the bottom of the fitted undersleeve, I decided to add some white lace for contrast and to make it look visually a bit like a cuff. I also decided to embellish the bertha in a similar way: I tucked a line of the black lace and then a layer of the white lace under the bottom edge of the bertha.
The final touch was flowers: flowers at the center front of the bodice, flowers at the hip on one side, and flowers in my hair. I bought some really lovely flowers from Indy Supply Co. on Etsy. I got several packages of pre-mixed colors: purples, reds, and mauves in different styles of flower. This was fantastic, because the color coordinating was done for me, and I loved both the choice of colors and the various styles, sizes, and textures. This was one of the better purchases I've made in the last year or so--I was so stoked.
After getting a grip on my excitement over the flowers, I decided on my various arrangements, sewed them together, and tacked them onto the dress. As for the flowers in my hair, I put together a head-piece using a kit from Timely Tresses. It's kind of like a headband with a tear-drop at either end, so you can suspend a concoction of flowers at either side of your head. I added some ribbon here and there to fill it all out. I also sewed some flowers to a comb, thinking I might prefer to have the flowers at the back of my head rather than either side. As it turned out, on the day, I put both in my hair and it was a good decision.
The final touch was a rather slapdash cockade made of red, white, and blue ribbon, with a photo of Abraham Lincoln at the center. Firstly, this outfit was in large part a commemoration of Lincoln's second inaugural ball. Secondly, I want it to be painfully clear what side I'm on and that I will have no truck with Lost Cause bullshit. I think it's easy as a white person in 1860s garb to be mistaken for someone who sympathizes with the Confederacy (because such Confederate sympathizers have in the past appropriated the Civil War narrative, which, thankfully, has changed considerably in recent years). Thirdly, I'm just a big fan of Abraham Lincoln. Hence, Lincoln.
So the project was completed, and here is me getting ready:
Once I was ready, it was off to the National Portrait Gallery:


No comments:
Post a Comment